In this guide 6 sections
Raise one change note and revise the BOM and circuit table together. Mark which finished harnesses and loose parts stay valid, pull the old build sheet from every board, and set an effective serial or date. Count leftover terminals before the first revised harness is cut.
Start from the engineering change note, not the shop floor
A harness change usually arrives as an ECN from the customer. It may swap a terminal part number to another supplier’s, or move a connector from 4 cavities to 6. Either way, read the note against the circuit table before anyone touches the BOM.
Write down what the note really alters. Is it a terminal, a seal, a wire gauge, a cut length or a clip position? Each one lands in a different place on the build sheet, and the cutting bench, crimp press and assembly board each see it differently.
Give the change its own record with a number. Without it, nobody can say later which revision a given loom was built to. Auditors ask for exactly this link, and a field return with a cracked seal six months later is far easier to judge when the revision is on file.
- Customer drawing revision before and after
- Affected circuits, listed by circuit number
- Parts removed and parts added
- Whether tooling or crimp height settings must change
Revise the BOM and the circuit table as one job
The BOM lists parts. The circuit table lists wires, ends, terminals, seals and cavities. When only one is edited, the cutting bench works to the new wire and the assembly board still shows the old housing.
Revise both in the same sitting and give them the same revision letter. Then check that every terminal in the circuit table appears in the BOM with a matching quantity. Count seals too. An open cavity needs a blank plug.
Keep the old revision readable. You will need it for returns. Returned harnesses built before the cutover must be checked against the circuit table they were made from. The superseded revision stays in the system, marked obsolete but never deleted.
Decide what happens to every part already in the plant
This is where old terminals sneak through. Walk three places: the wire store, the cut-and-crimp area and finished goods. For each superseded part number, choose one of four fates, which are use up, rework, return to supplier or scrap.
Many changes allow a run-out. Others, such as a safety-related terminal swap, do not. The customer note should say which. If it does not, ask before you decide.
Tag leftover reels and bags physically. A red label on a reel of the old terminal is quicker to read than any screen, though the stock record must say the same thing. Quarantine shelves work well. Nothing leaves them without a signature.
- Loose terminals and seals in the crimp area
- Cut wires with the old crimp already on one end
- Sub-assemblies on carts between stations
- Finished harnesses waiting for dispatch
Pull the old build board and issue the new one
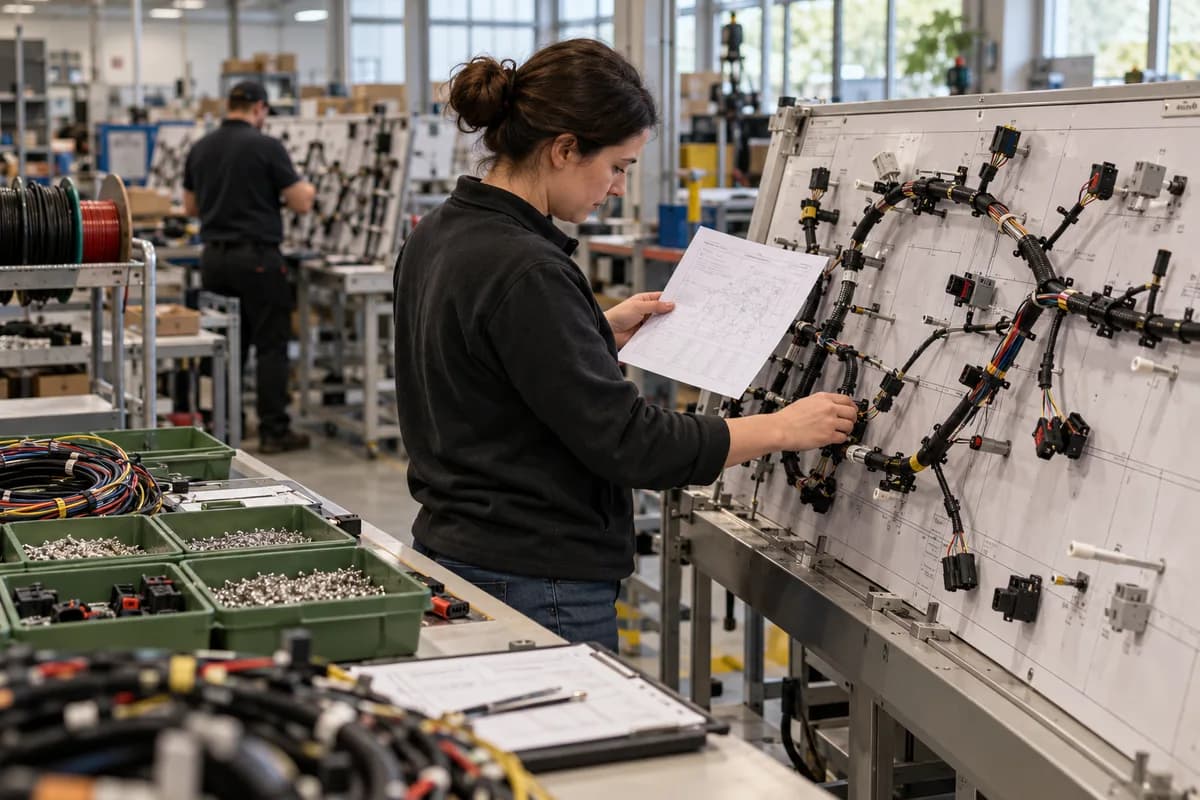
The build board is the pinned layout where operators route wires, tape and fit clips. It is the document that fails first. A new BOM means nothing if the laminated board in station six still shows the old connector, because operators build from what they see.
Issue the new board and collect the old one in the same walk. Sign each station off on a list. Print the revision letter large in one corner of the board so a quick glance settles the question for any operator, supervisor or auditor passing by.
Fix an effective point. It can be a date, a work order number or the first serial. State it on the build sheet so that the line knows exactly when to switch over. Mixed lots on one work order are where most escapes begin, so cut over at a clean boundary whenever the customer allows it.
Prove the first harness before the batch runs
Build one harness to the new sheet and put it on the continuity tester. Check pin-to-pin against the revised circuit table, then pull-test the changed crimps, check the seals and compare the routing with the board. Keep a photo.
Only then release the batch. Log the change as closed with the date, the last old serial and the first new one. Update the traceability record so a field return can be matched to the right revision.
Your next step is simple. Take the last change you issued and ask whether every station board matched it on the day.
Harness change release sheet
A single sheet in four blocks. The first holds the change number, customer drawing revisions and the circuits affected. The second block tabulates old and new part numbers, with columns for stock location, quantity found and fate. The third lists every build board by station with sign-off and revision letter. The fourth records first-article results and the effective serial.
Open a blank worksheet to printQuestions owners ask
Who should approve a harness BOM change?
The production planner raises it, but engineering or quality signs the technical content. Stores and the line supervisor confirm the physical count. One name on each block avoids a change that everyone thought someone else had checked.
What should happen to cut wires with old terminals crimped on?
Treat them as work in progress with a defined fate. Some customers allow rework by cutting off the old end and re-crimping. Others require scrapping. Check the change note, then label the bin so nobody guesses.
Can a spreadsheet handle harness BOM revisions?
It can for a handful of part numbers. It struggles when many variants share circuits, because one edit must reach every variant and every board. Software that links variants to a common circuit table removes that copying.
How do we know the line actually switched over?
Look at the last old serial and the first new serial in the traceability record, and check the first harness on the tester. A signed list of build boards by station completes the picture.