Barcodes and Labels for Plastic packaging manufacturers
Connect scannable labels with the correct items and variants.
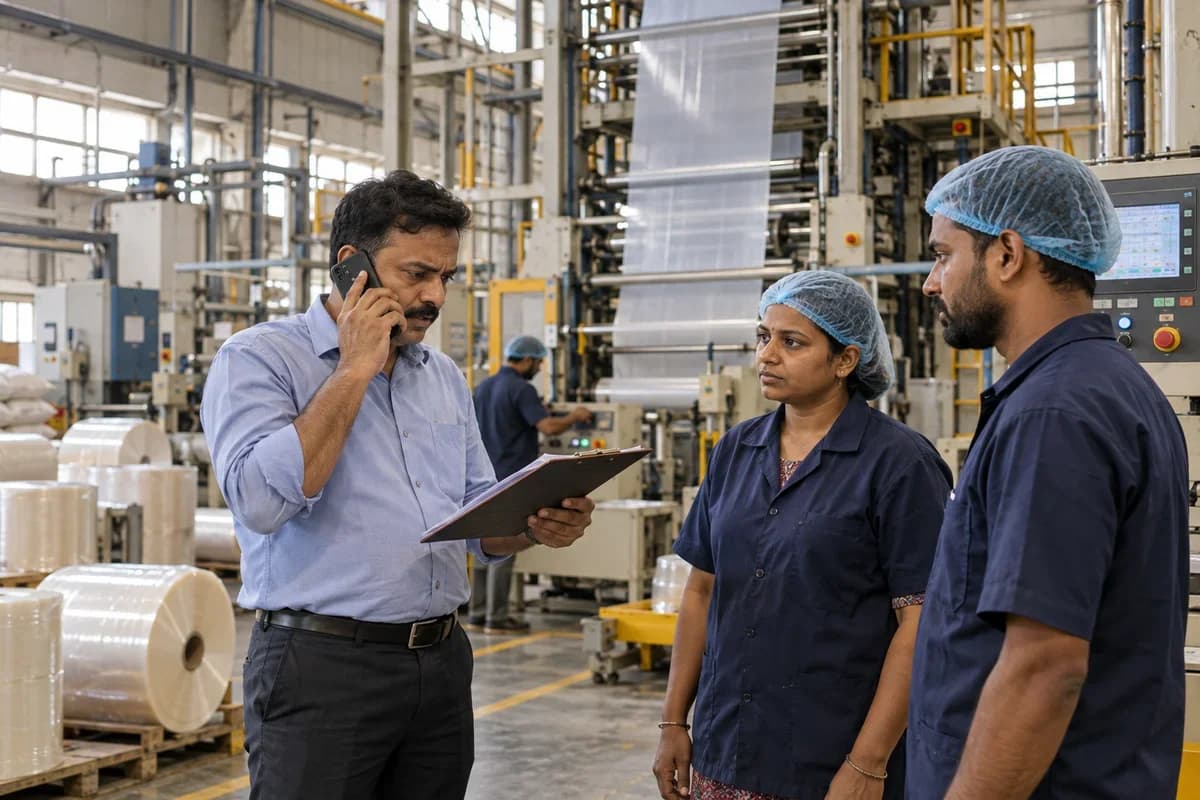
Does this function belong in your operation?
Use when physical items benefit from scanning or printed identification.
An item needs identification at receipt, counting or sale.
Reel, carton and pallet labels print with product code, weight, run date and customer order. Stores scan them in the warehouse. The dispatch team checks counts against the invoice.
Bring the records the workflow depends on.
- Item and variant codes
- Barcode formats
- Printer and scanner requirements
Outputs to check
- Item-code and label definition
- Printed-label batch record
- Scan-validation exception list
Follow the barcodes and labels workflow.
Use this sequence to compare your current process with the proposed module. Agree the owner, permission and exception at each step.
Who uses the module, and who approves?
Keep responsibilities distinct even when one person holds more than one role.
Decide how exceptions are handled.
These business rules belong in configuration and testing. A normal transaction alone does not demonstrate that the workflow is ready.
Can this work independently?
Labels need an item or asset identifier and compatible printing and scanning arrangements. Billing, receipt and counting systems use the scanned value to select a record. Printing a code does not create a stock movement, establish authenticity or satisfy every product-labelling requirement.
Systems and records it connects with
- Product management: Item identifiers, units and controlled variant definitions.
- Point of sale billing: Counter sales, tender records and authorised returns.
- Stock tracking and alerts: Item-location quantities and authorised stock movements.
- Label and thermal printers: Agreed label formats and hardware-tested print output.
Configure, test and introduce the workflow.
- We look at items, current labels and your printer. You supply a stock list. You get back a note on which codes exist and which are missing.
- Codes are agreed on paper. You approve how item and variant codes are built before any printing. A sample label is cut to size. A few stickers come back to hold against real stock.
- Counter staff scan a small batch at billing and at a rack count. Slow scans get noted. So do wrong codes. Remaining items are labelled in groups while the unlabelled list shrinks on screen. Training at each counter closes the work.
Check the result before rollout.
Apply these checks to a sample from the agreed workflow, then repeat with an exception. Keep the expected result beside the test record.
- Codes retrieve the correct variant.
- Duplicate active codes are detected.
- Printed labels are readable on the agreed hardware.
How the business operates.
A stand-up pouch is built in layers. Film is blown, reverse printed, laminated to a cast polypropylene sealant web and slit to width before a bag machine sees it. Every step leaves a narrower reel.
The records that hold the operation together.
- Pouch quotations. Convert a pouch size and quantity into film metres, kilograms, ink and adhesive, then price with the expected scrap of each stage.
- Film structure and recipe. Keep every layer’s polymer, micron and web width beside the adhesive, ink and sealant it takes, so a repeat order begins from an identical build.
- Artwork approvals. Log artwork revisions, proof approvals and the customer’s signed Pantone match, and stop a run if the approved revision differs from the cylinder.
- Cylinder and plate register. Hold each gravure cylinder or flexo plate with owner, rack position, impressions run and the artwork revision it was made from.
Operational bottlenecks to check
Waste is lost between stages
Each machine reports its own scrap. Nobody adds extruder trim, press start-up film, laminator mismatch and slitter edge together, so the plant never learns the kilograms of resin bought to deliver one finished pouch order.
Reels lose their identity
A printed reel is slit into narrower child reels that go to different laminators and bag machines, and nobody writes down which went where. Numbers sit on masking tape. It peels.
How work flows across this business
This module sits within a wider operating process. Use the sequence to identify the other teams and records affected by a change.
1. Specification and quote
The brand owner’s pouch size, gusset, zipper and film structure are recorded together with the colour count. The quotation converts pouches into film metres and kilograms.
2. Artwork and cylinders
Artwork revisions are logged and the proof is approved. Cylinders or flexo plates are then made and entered with their owner and rack location.
3. Extrusion and print
Base film reels are numbered and weighed. Corona treatment is checked, and print runs record the Pantone match approval and the waste at start-up.
4. Lamination and slitting
Printed reels are laminated to the sealant film with solventless or solvent adhesive and slit to width. Each child reel is numbered under its mother reel.
5. Conversion
Pouch and bag machines make the finished goods. Counts, bottom seal checks and rejects are logged by reel.
6. Packing and delivery
Pouches are counted into cartons and pallets. Labels and delivery notes carry the film lot.
Industry reports to connect with
- Total scrap per order, split by stage
- Reel genealogy from film lot to carton
- Artwork proofs awaiting approval
- Cylinders by owner, rack position and impressions
Questions before implementation.
When should plastic packaging manufacturers consider barcodes and labels?
Use when physical items benefit from scanning or printed identification. An item needs identification at receipt, counting or sale.
What should we bring to the requirements discussion?
Bring anonymised examples of Item and variant codes; Barcode formats; Printer and scanner requirements. Show who creates, checks and changes each record. Use only records from an activity that meets the suitability conditions above.
Does this replace our existing business software?
The starting point is your current system and the gap you need to close. Connect scannable labels with the correct items and variants. Configuration, a connected module or a custom build are evaluated against that gap before a replacement is proposed.
What is outside this module?
Industry numbering standards and mandatory product-label requirements need separate confirmation.
How are scope, price and rollout decided?
The proposal follows a review of your records, user roles, branches and existing software. Data migration, connections, training and support are scoped separately where needed. Codes retrieve the correct variant. Use this check when reviewing the first working version.
Related functions for plastic packaging manufacturers.
Discuss barcodes and labels for your business.
Tell us which workflow needs attention and which systems your team uses. The next step is a requirements discussion and a written scope.
What happens after you share your requirements
- We review your brief and the systems you already use.
- We clarify the workflow, missing information and the work to consider first.
- The proposed scope sets out the deliverables, responsibilities and dependencies.
- Review the scope and commercial terms before deciding whether to proceed.
Start with your requirements
Describe your current process, the people involved and the change you need. Start with the details you know; we can clarify the rest together.
Share your requirements