Point of Sale Billing for Pathology labs
Record counter sales, payments and the resulting stock movements.
Does this function belong in your operation?
Use when staff complete customer purchases at a physical counter.
A customer completes an in-person purchase.
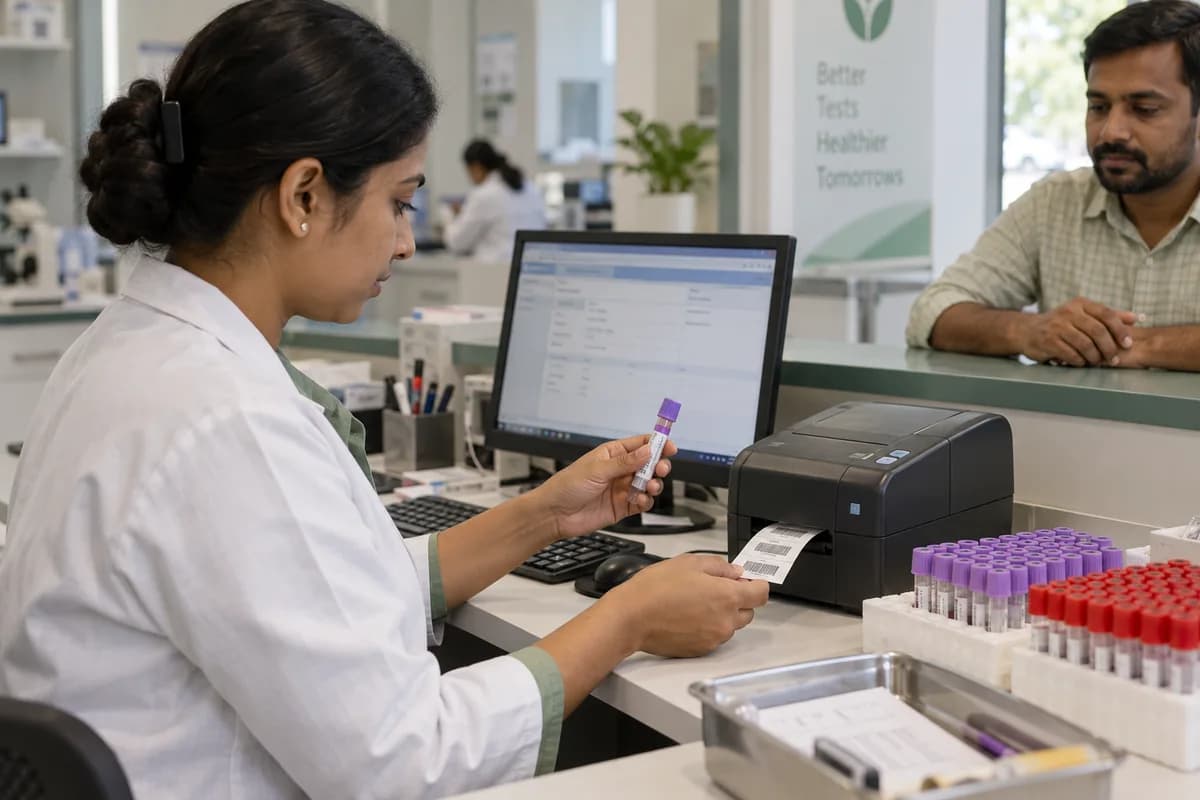
The desk bills registered tests, takes cash, card or part payment and prints a receipt with the sample number. A balance left on a package stays on the patient’s account. Refunds for cancelled tests are logged.
Bring the records the workflow depends on.
- Item catalogue and prices
- Payment methods
- Counter and receipt settings
Outputs to check
- Counter bill and tender record
- Shift settlement statement
- Return and discount exception log
Follow the point of sale billing workflow.
Use this sequence to compare your current process with the proposed module. Agree the owner, permission and exception at each step.
Who uses the module, and who approves?
Keep responsibilities distinct even when one person holds more than one role.
Decide how exceptions are handled.
These business rules belong in configuration and testing. A normal transaction alone does not demonstrate that the workflow is ready.
Can this work independently?
POS needs item, price and tax settings. It can record permitted tenders independently, but payment terminals or gateways require supported connections and separate settlement checks. Stock, loyalty and customer accounts are optional handoffs; a printed bill does not prove a card payment settled.
Systems and records it connects with
- Product management: Item identifiers, units and controlled variant definitions.
- Stock tracking and alerts: Item-location quantities and authorised stock movements.
- Barcodes and labels: Item-code mappings and verified printed-label values.
- Loyalty and offers: Eligible rewards, redemptions and approved reversals.
Configure, test and introduce the workflow.
- We spend time at your counter and note how bills are made. You get a short written note of the layout we propose. The queue tells the story.
- Import a checked item list with rates and approved tax settings. On the intended counter hardware, test ordinary sales, discounts, split tenders, failed payments and returns. Review usability and reconcile the resulting totals before release.
- Who may give a discount and who may take a return is fixed. Each cashier is given a personal login. The counter bills on the system and the day is closed with a cash tally. The owner reads the first closing report with the cashier. Leave room for surprises.
Check the result before rollout.
Apply these checks to a sample from the agreed workflow, then repeat with an exception. Keep the expected result beside the test record.
- Bills total the correct items and prices.
- Split payments reconcile to the bill.
- Counter closing highlights differences.
How the business operates.
A neighbourhood pathology lab handles walk-in patients, home collection, samples from partner collection centres and work sent by nearby nursing homes.
The records that hold the operation together.
- Patient registration and test orders. Register patients with age, sex, referring doctor and the tests or profiles ordered, and find a returning patient by phone number.
- Sample collection and barcodes. Print a barcode for every container at collection, record the sample type and time, and mark rejected samples with a reason.
- Home collection visits. Book home visits by area and time slot, assign each to a phlebotomist, and see which samples have reached the lab.
- Collection centres and B2B accounts. Give each collection centre, referring hospital and corporate client its own rate list, credit terms and a statement it can read for itself.
Operational bottlenecks to check
Tube labels are handwritten
A name in marker on a sample tube is easy to misread at a busy bench. One swap means two wrong reports.
Report status lives at the bench
A doctor calls to ask whether a report is ready, and the desk has to walk in and ask a technician. The caller waits on hold.
How work flows across this business
This module sits within a wider operating process. Use the sequence to identify the other teams and records affected by a change.
1. Registration
The patient is registered at the desk, at a collection centre or at home, with the referring doctor and the tests or profiles ordered.
2. Collection and barcode
Each container gets a printed barcode linked to the patient and the tests. Rejected samples are marked with the reason and a recollection is booked.
3. Worklists and results
Samples arrive on each department’s worklist. Technicians enter results, and values outside the lab’s reference range are flagged as they are typed.
4. Pathologist sign-off
The pathologist reviews the results, the flags and the patient’s earlier values, then signs the report or sends a test back for a re-run.
5. Report delivery
Only a signed report is released. It is printed, emailed or sent through the lab’s own WhatsApp Business account where that is set up.
6. Billing and dues
Walk-in patients pay at registration, while collection centres, hospitals and corporate accounts are billed on their agreed rates and settled against a ledger.
Industry reports to connect with
- Samples received by source and department
- Reports pending sign-off and delivery
- Rejected samples and recollections
- Collections by mode, test and centre
Questions before implementation.
When should pathology labs consider point of sale billing?
Use when staff complete customer purchases at a physical counter. A customer completes an in-person purchase.
What should we bring to the requirements discussion?
Bring anonymised examples of Item catalogue and prices; Payment methods; Counter and receipt settings. Show who creates, checks and changes each record. Use only records from an activity that meets the suitability conditions above.
Does this replace our existing business software?
The starting point is your current system and the gap you need to close. Record counter sales, payments and the resulting stock movements. Configuration, a connected module or a custom build are evaluated against that gap before a replacement is proposed.
What is outside this module?
Payment hardware, offline operation and tax requirements need explicit scope confirmation.
How are scope, price and rollout decided?
The proposal follows a review of your records, user roles, branches and existing software. Data migration, connections, training and support are scoped separately where needed. Bills total the correct items and prices. Use this check when reviewing the first working version.
Related functions for pathology labs.
Discuss point of sale billing for your business.
Tell us which workflow needs attention and which systems your team uses. The next step is a requirements discussion and a written scope.
What happens after you share your requirements
- We review your brief and the systems you already use.
- We clarify the workflow, missing information and the work to consider first.
- The proposed scope sets out the deliverables, responsibilities and dependencies.
- Review the scope and commercial terms before deciding whether to proceed.
Start with your requirements
Describe your current process, the people involved and the change you need. Start with the details you know; we can clarify the rest together.
Share your requirements